The Honeywell T6 Pro Thermostat is a programmable thermostat offering smart scheduling, energy efficiency, and compatibility with various HVAC systems. It features remote control via the Honeywell Home app and a user-friendly interface designed for optimal home comfort.
1.1 Key Features of the Honeywell T6 Pro
The Honeywell T6 Pro Thermostat offers advanced features like adaptive intelligent recovery, which learns your system’s behavior to optimize heating and cooling. It supports smart home integration, enabling voice control via platforms like Amazon Alexa. The thermostat features a large, backlit touchscreen for easy navigation and scheduling. It also includes geofencing technology, which adjusts settings based on your location. Temporary overrides and energy-saving modes further enhance its functionality, ensuring comfort and efficiency. These features make it a versatile and user-friendly solution for modern HVAC systems.
1.2 Compatibility with Various HVAC Systems
The Honeywell T6 Pro Thermostat is designed to work with a wide range of HVAC systems, including heat pumps, gas, electric, and oil systems. It supports up to 2 stages of heating and cooling for heat pumps and up to 2 stages for conventional systems. This versatility ensures compatibility with most residential setups, allowing seamless integration with existing heating and cooling infrastructure. Its compatibility extends to dual-fuel systems, making it a flexible choice for diverse home configurations.

Package Contents and Requirements
The Honeywell T6 Pro Thermostat package includes the thermostat, UWP mounting system, decorative cover plate, screws, anchors, 2 AA batteries, and installation instructions. Ensure power is turned off at the breaker before installation, and verify compatibility with your HVAC system.
2.1 Items Included in the Package
The Honeywell T6 Pro Thermostat package includes the T6 Pro Thermostat, UWP mounting system, decorative cover plate, screws, anchors, and 2 AA batteries. It also contains installation instructions and thermostat literature for easy setup. Additionally, a Honeywell Standard Installation Adapter is provided for compatibility with various HVAC systems. All components are designed to ensure a seamless installation process, making it easy for users to get started with their new thermostat.
2.2 System Requirements for Installation
The Honeywell T6 Pro Thermostat requires compatibility with 2- or 4-wire HVAC systems, supporting up to 2 stages of heating and cooling. It is designed for use with conventional or heat pump systems. The thermostat can be powered via a common (C) wire or 2 AA batteries for backup. Ensure the HVAC system is compatible with the thermostat’s wiring configuration before installation. Always turn off power at the breaker box before starting the installation process to ensure safety and proper setup.
Installation Process
Installation involves mounting the thermostat, connecting wires, and configuring settings. Ensure the power is off at the breaker before starting. Use the UWP mounting system for secure installation.
3.1 Pre-Installation Checks and Preparation
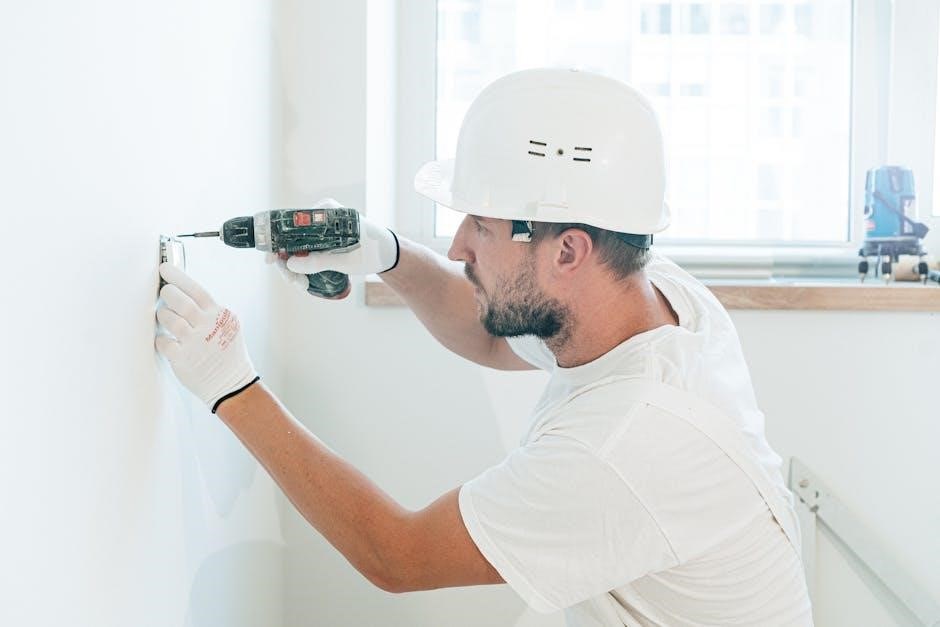
Before installing the Honeywell T6 Pro Thermostat, ensure the power is off at the circuit breaker. Verify compatibility with your HVAC system and gather necessary tools. Read the manual thoroughly to understand the process; Check if a C-wire is present or required for installation. Prepare the wall by ensuring it is level and clean. Remove the old thermostat carefully to avoid damaging wires. Take photos of existing wire connections for reference. Ensure all materials from the package are available, including the UWP mounting system and decorative cover plate.
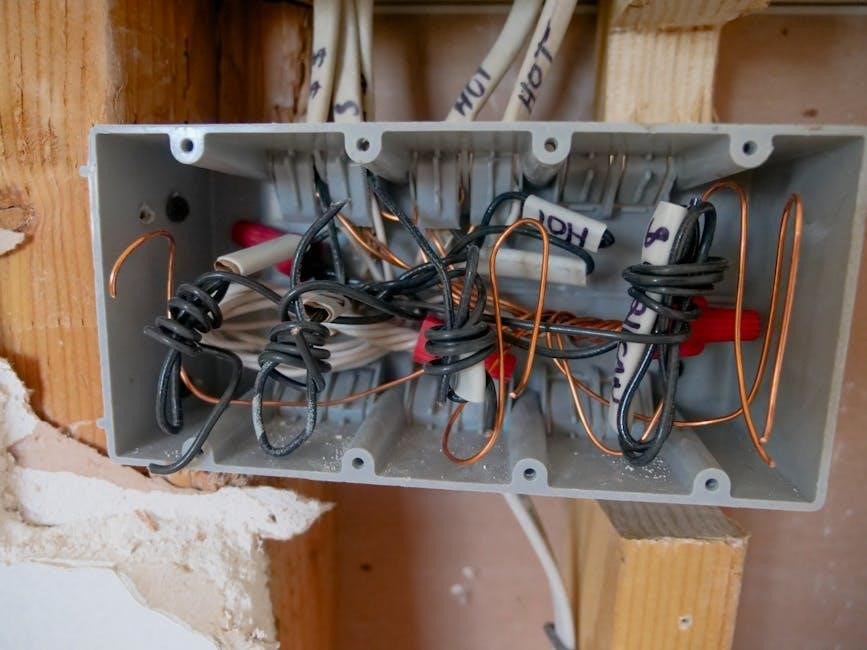
3.2 Mounting the Thermostat and Wiring Connections
Mount the Honeywell T6 Pro Thermostat using the included UWP mounting system. Ensure the wall is level and clean before attaching the base plate. Connect the wires to the appropriate terminals, referencing the manual for correct labeling. Secure the thermostat to the mounting system and attach the decorative cover plate. Double-check all connections for accuracy. If using a C-wire, ensure it is properly connected for continuous power. Once installed, restore power and test the thermostat to confirm proper operation.
Programming and Scheduling
The Honeywell T6 Pro allows programming four daily time periods with different settings for weekdays and weekends. Temporary overrides are available for flexibility, optimizing comfort and energy use.
4.1 Setting Up Daily and Weekly Schedules
The Honeywell T6 Pro Thermostat allows users to program four daily time periods with different temperature settings for weekdays and weekends. The recommended pre-set schedules help reduce energy expenses by optimizing heating and cooling usage. To customize, simply adjust the wake, leave, return, and sleep times according to your routine. Temporary overrides are also available, holding the temperature until the next scheduled period begins. This feature ensures comfort and efficiency without altering the overall program.
4.2 Temporary Schedule Overrides
The Honeywell T6 Pro Thermostat allows temporary schedule overrides, enabling users to adjust the temperature without altering the programmed schedule. To activate, press the temperature adjustment buttons to set the desired temperature. Once set, the thermostat will hold this temperature until the next scheduled period begins. This feature provides flexibility for unexpected changes in your routine or comfort needs. Temporary overrides do not affect the overall program, ensuring your energy-efficient settings remain intact while accommodating short-term adjustments.

Advanced Features
The Honeywell T6 Pro Thermostat features Adaptive Intelligent Recovery, which learns your system’s needs to optimize heating and cooling. It also offers Smart Home Integration for seamless connectivity with other devices.
5.1 Adaptive Intelligent Recovery
The Honeywell T6 Pro Thermostat features Adaptive Intelligent Recovery, which learns how long it takes for your HVAC system to reach the desired temperature. This advanced feature analyzes your system’s performance over time and adjusts the heating or cooling schedule accordingly. By understanding your home’s unique needs, it ensures your space is comfortable by the time you need it. This smart technology helps optimize energy usage while maintaining consistent temperatures, making it an efficient and convenient solution for home climate control.
5.2 Smart Home Integration
The Honeywell T6 Pro Thermostat seamlessly integrates with smart home systems, offering enhanced control and convenience. Using the Honeywell Home app, users can remotely adjust settings, monitor energy usage, and receive notifications. It supports voice control through smart speakers and works with Z-Wave systems for whole-home automation. This feature allows for personalized comfort and energy efficiency, making it a versatile addition to modern smart homes. The thermostat’s connectivity ensures it adapts to your lifestyle, providing a smarter way to manage your home’s climate.
Troubleshooting Common Issues
Troubleshoot common issues by checking circuit breakers, ensuring the system switch is on, and addressing blank screens or connectivity problems for optimal thermostat performance.
6.1 Diagnostic Tips and Solutions
For common issues, check the circuit breaker and ensure the HVAC system switch is on. If the screen is blank, verify power connections. Address connectivity problems by restarting the thermostat. Low battery warnings indicate the need for replacement. Ensure proper wiring and system compatibility. Consult the user manual for detailed troubleshooting steps or contact Honeywell support for unresolved issues. Regular maintenance, like updating software and cleaning the thermostat, can prevent recurring problems and ensure optimal performance.
6.2 Resetting the Thermostat
To reset the Honeywell T6 Pro Thermostat, press and hold the Honeywell Home logo for 5 seconds to enter Contractor Mode. Perform a factory reset by selecting “Factory Reset” in the menu, which will erase all custom settings. For a system restart, simply power cycle the thermostat by turning it off and on. Ensure the thermostat is properly powered either by batteries or a C-wire connection. If issues persist, refer to the troubleshooting guide or contact Honeywell support for assistance. Regular resets can help maintain optimal performance and resolve software-related issues.
Maintenance and Upkeep
Regular maintenance ensures optimal performance. Clean the touchscreen gently, check battery levels, and ensure proper wiring connections. Schedule periodic inspections and update software as needed.
7.1 Replacing Batteries
To replace the batteries in your Honeywell T6 Pro Thermostat, pull the unit gently from the wall mount. Remove the old batteries and insert two new AA batteries, ensuring proper orientation. Reattach the thermostat to the wall mount. Batteries provide backup power when the thermostat is not wired to AC power. The screen will stay lit for 8 seconds after changes when running on battery power alone. Replace batteries promptly when the low-battery warning appears to maintain functionality. This ensures continuous operation and prevents setting loss.
7.2 Setting Air Filter Reminders
To set air filter reminders on your Honeywell T6 Pro Thermostat, navigate to the menu and select “Maintenance” or “Alerts.” Choose “Air Filter Reminder” and set the desired interval, typically every 30 to 90 days. Confirm your selection to enable the reminder. The thermostat will display an alert when it’s time to replace the filter. After changing the filter, reset the reminder in the menu to restart the countdown. This feature helps maintain air quality and system efficiency, ensuring timely filter replacements without manual tracking.
The Honeywell T6 Pro Thermostat offers a seamless blend of smart functionality, energy efficiency, and user-friendly design. With features like adaptive recovery, smart home integration, and maintenance reminders, it ensures optimal comfort and system performance. By following the installation and programming guidelines, users can fully utilize its capabilities to create a personalized and energy-saving home environment. For any further assistance, refer to the Honeywell Home app or support resources to maximize your thermostat’s potential.


About the author