Welcome to the Viper Car Starter Manual. This guide provides a comprehensive overview for enhancing your vehicle’s security and convenience with the Viper remote start system. Designed for both novice and experienced users, it covers installation, safety checks, and programming for optimal performance.
Overview of the Viper Remote Start System
The Viper Remote Start System is a cutting-edge solution designed to enhance your vehicle’s convenience and security. This advanced system allows users to start their car’s engine remotely, ensuring comfort in extreme weather conditions. With its universal compatibility, it can be installed in most vehicles, including manual transmission cars, though specific safety features like the Manual Transmission Start (MTS) mode must be properly configured. The system integrates seamlessly with existing factory security features, offering a user-friendly experience. Its reliability and robust design make it a popular choice among car owners seeking a blend of functionality and peace of mind. Follow this guide for a smooth installation and setup.
Importance of Proper Installation and Setup
Proper installation and setup of the Viper Remote Start System are crucial for ensuring safety, reliability, and optimal performance. Incorrect wiring or configuration can lead to system malfunctions, vehicle damage, or even safety risks. For manual transmission vehicles, proper setup is especially critical to prevent unintended starts or movements. Following the manufacturer’s guidelines and conducting thorough safety checks minimizes these risks. Additionally, incorrect installation can void the product warranty or lead to potential legal issues. It is highly recommended to have the system installed by an authorized Directed Electronics dealer to ensure compliance with safety standards and proper functionality. This step guarantees a seamless and secure remote starting experience for your vehicle.

Pre-Installation Requirements
Before installing the Viper Remote Start System, ensure your vehicle is compatible, gather all necessary tools, and review the installation manual for specific requirements.
Understanding Vehicle Compatibility
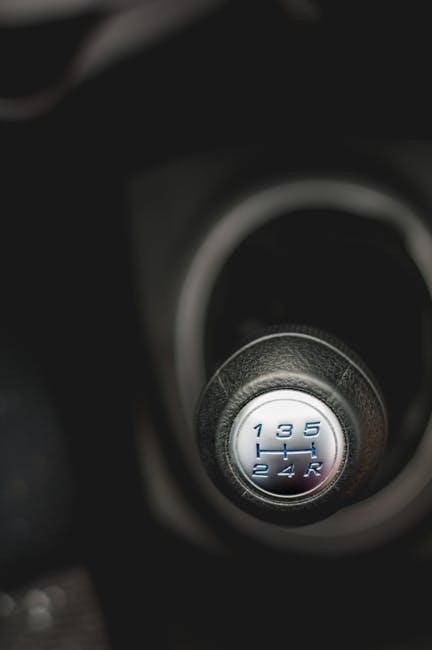
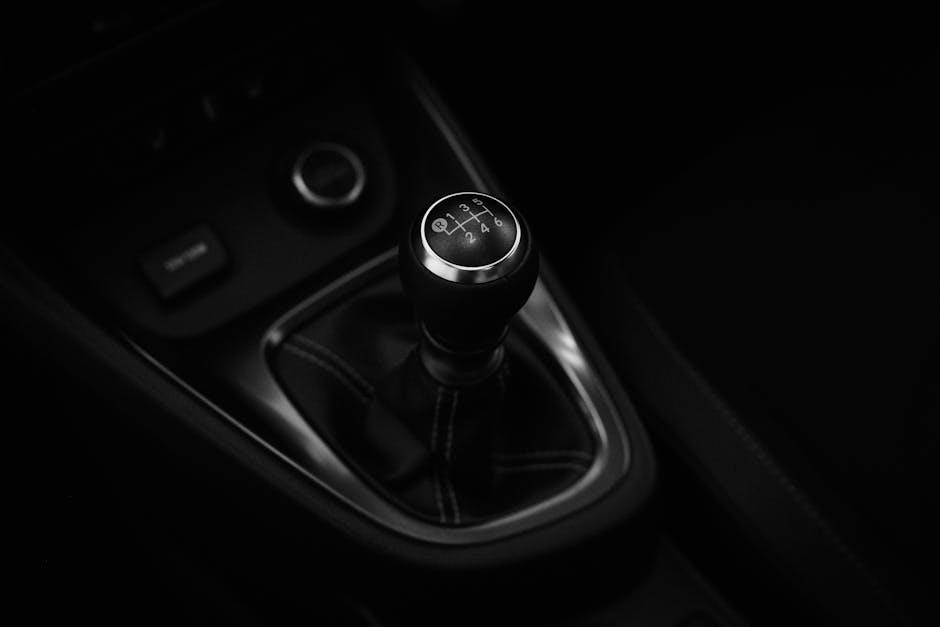
Ensuring your vehicle is compatible with the Viper Remote Start System is crucial for proper functionality. Modern vehicles, including manual transmission models, are generally supported, but specific requirements may apply. Check the Viper compatibility chart to confirm your vehicle’s make, model, and year are listed. Manual transmission vehicles require MTS mode setup during installation to prevent unintended movement. Refer to the installation guide for specific instructions tailored to your vehicle type. Compatibility varies by system, so verify features like automatic transmission, immobilizers, and existing security systems to ensure seamless integration with the Viper Remote Start.
Gathering Necessary Tools and Materials
To ensure a smooth installation of your Viper Remote Start System, gather all required tools and materials beforehand. Essential items include a wiring harness, soldering tools, and a multimeter for testing connections. Additionally, you’ll need basic hand tools like screwdrivers, pliers, and wrenches. Refer to the installation manual for a detailed list specific to your system. Organize these tools to avoid delays. Ensure you have a clean, well-lit workspace and consult your vehicle’s manual for any vehicle-specific tools. Proper preparation will help you navigate the installation process efficiently and effectively.

Installation Steps
Begin by disconnecting the battery for safety. Connect the wiring harness to your vehicle’s electrical system, ensuring all wires are securely attached. Mount the remote start module in an accessible location. Follow the manual’s instructions for proper connections and configurations. Test the system to ensure functionality before finalizing the setup. Refer to the guide for specific instructions tailored to your vehicle’s make and model.
Wiring and Connection Setup
Connect the battery wires first, ensuring the positive and negative terminals are correctly linked. Locate the ignition, accessory, and starter wires in your vehicle. Use the Viper wiring harness to connect these wires to the remote start module. Verify each connection to avoid short circuits. For manual transmissions, enable the MTS mode to prevent unintended starts. Follow the manual’s color-coded guide for precise wiring. Double-check all connections before moving to the next step. Proper wiring ensures reliable performance and safety. If unsure, consult the installation guide or a professional installer for assistance. This step is crucial for the system’s functionality.
Mounting the Remote Start Module
Mount the Viper remote start module in a secure, dry location, preferably under the dashboard. Ensure it is away from moving parts and heat sources. Use the provided mounting bracket to fasten the module. Connect the antenna to the module and position it for optimal signal reception. Avoid drilling near sensitive vehicle components. Secure all wires neatly to prevent interference. Refer to the manual for specific placement recommendations. Once mounted, double-check all connections for tightness. Ensure the module is level and firmly attached to prevent vibration damage. If unsure about the location, consult the installation guide or seek professional assistance. Proper mounting ensures reliable operation and longevity of the system.
Finalizing the Installation
After completing the wiring and module mounting, thoroughly test the remote start system to ensure proper functionality. Conduct a Safety Check to verify all features operate correctly. Program the remote start by following the Virtual Tach process, which may require multiple engine cranks. Ensure all wires are securely connected and tucked away to prevent interference. Review the installation guide for model-specific instructions, especially for manual transmissions. Once everything is confirmed to be working, clean up any excess wiring and secure loose connections. Finally, test the remote start in various conditions to ensure reliability. Consult the manual for any additional settings or features to activate. Proper finalization ensures safe and efficient system operation.

Safety Checks and Precautions
Ensure all safety guidelines are followed to avoid system malfunctions. Always perform a Safety Check post-installation to verify proper operation. Adhere to manufacturer instructions to prevent vehicle damage.
Pre-Installation Safety Guidelines
Before starting the installation, ensure all safety precautions are followed to avoid potential risks. Disconnect the vehicle’s battery to prevent electrical hazards. For manual transmission vehicles, extra care is required to prevent unintended starts. Always test the system in a safe, open area away from flammable materials. Ensure the parking brake is engaged and the vehicle is in park or neutral. Avoid bypassing any safety features, as this could lead to system malfunctions. Refer to the manual for specific guidelines tailored to your vehicle type. If unsure, consult a professional installer to ensure compliance with safety standards.
Post-Installation Testing Procedures
After completing the installation, conduct thorough testing to ensure the Viper remote start system functions correctly. Begin by using the remote to start the engine, verifying it operates smoothly. Check that the vehicle does not move during testing by ensuring the parking brake is engaged. Test all safety features, such as the brake pedal switch, to confirm they halt the remote start process. Ensure the system shuts down properly when the key is inserted or the brake is pressed. For manual transmission vehicles, verify the MTS mode is correctly set to prevent unauthorized starts. Repeat tests in different conditions to confirm reliability. Always refer to the manual for specific testing protocols tailored to your vehicle type.

Programming the Remote Start
Program the remote start by following the virtual tach setup. After installation, remote start the engine; it may require three cranks before running smoothly.
Virtual Tach Programming
Virtual Tach Programming is essential for accurate engine speed detection. After installation, remote start the engine; the system may require three ignition cycles to synchronize. Ensure the vehicle is in park and apply the brake. Follow the manual’s steps to complete the tach setup for proper functionality. This step is crucial for manual transmission vehicles to prevent unauthorized starts. Always refer to the user guide for specific instructions tailored to your Viper model.
Setting Up Remote Start Features
Configuring your Viper remote start features ensures seamless operation. Begin by programming the remote to match your vehicle’s settings. Use the provided button combinations to activate features like automatic start, temperature monitoring, and timer settings. Test each function to ensure proper operation. For manual transmissions, ensure MTS mode is enabled to prevent unauthorized starts. Follow the manual’s step-by-step guide for precise setup. After programming, perform a test run in a safe environment to confirm all features work as intended. Proper configuration enhances both convenience and security, ensuring your Viper system performs reliably under various conditions. Always refer to the manual for specific instructions tailored to your vehicle.

Troubleshooting Common Issues
Identify issues like wiring faults or remote malfunctions. Consult the manual for diagnostic steps. Test the system to isolate problems and resolve them promptly for optimal function.
Identifying and Resolving Installation Problems
Start by checking wiring connections for looseness or incorrect links. Verify the remote start module is properly mounted and connected. If issues persist, consult the manual or a professional. Test the system after addressing problems to ensure functionality. Regular checks can prevent future malfunctions, ensuring your Viper remote start operates smoothly and efficiently.
Addressing Remote Start Malfunctions
Start by checking the remote’s battery and connections. Replace or recharge the battery if necessary. Ensure all wiring is secure and free from corrosion. Check the antenna placement and signal strength. If issues persist, reset the control module or reprogram it as per the manual. Verify the parking brake status and ensure it’s fully released. Perform a system reset by disconnecting the battery or following specific button sequences. Consult the troubleshooting guide or contact customer support for persistent problems. Addressing malfunctions promptly ensures optimal performance and security of your Viper remote start system.

Successful installation and programming ensure optimal performance. Troubleshooting guides help resolve issues quickly. Follow the Viper manual for a secure and convenient remote start experience.
Best Practices for Ongoing Maintenance
Regularly inspect the wiring and connections to ensure they remain secure and free from damage. Check the battery voltage and charging system to maintain optimal performance. Update the remote start software periodically to access new features and improvements. Test the system after any modifications or repairs to ensure proper functionality. Keep the remote controls clean and dry to prevent malfunctions. Avoid extreme temperatures and moisture exposure to protect the module. Consult a professional if unsure about any maintenance steps. By following these practices, you can ensure your Viper remote start system operates reliably and efficiently over time.
Final Tips for Optimal Performance
For optimal performance, always follow the manufacturer’s guidelines and ensure proper installation. Regularly test the remote start system after installation and any updates. Keep the remote controls away from extreme temperatures and moisture. Avoid using the remote start in areas with high electromagnetic interference. Ensure the vehicle’s battery is in good condition to prevent system malfunctions. Periodically review and update the system’s software for the latest features. If issues arise, consult the user manual or contact a certified professional. By adhering to these tips, you can enjoy reliable and efficient operation of your Viper remote start system for years to come.


About the author