Fanny packs have made a stylish comeback, offering a practical and trendy way to carry essentials. With free sewing patterns, you can create a customizable, unique bag tailored to your preferences, perfect for everyday use or special occasions. These patterns are ideal for sewists of all skill levels, allowing you to craft a functional accessory while expressing your personal style.
1.1 Overview of Fanny Pack Popularity and Benefits
Fanny packs have experienced a significant resurgence in popularity due to their practicality and trendy appeal. They offer a hands-free way to carry essentials, making them ideal for festivals, hiking, or daily errands. The benefits include durability, ease of use, and the ability to customize designs to suit personal style. Their compact size and adjustable straps ensure comfort and versatility for all ages. Additionally, fanny packs are great for organizing small items, keeping them within easy reach. With free sewing patterns, enthusiasts can create unique, personalized bags, making them a fun and creative project for sewists of all skill levels.
Opting for a free fanny pack sewing pattern is a cost-effective and accessible way to embark on a creative project. These patterns are widely available online and cater to various skill levels, making them ideal for beginners and experienced sewists alike. They often include detailed instructions and measurements, ensuring a smooth sewing process. Additionally, free patterns allow for customization, enabling you to choose fabrics, colors, and designs that match your personal style. This affordability and flexibility make free patterns a great option for those looking to experiment with new projects or create gifts without financial constraints. They also provide an excellent way to practice sewing skills while producing a functional and fashionable accessory. Sewing a fanny pack requires fabric, zippers, buckles, threads, and basic sewing tools like scissors and machines. Follow patterns for exact measurements and tools. For sewing a fanny pack, you’ll need durable fabric such as cotton, canvas, or polyester. Exterior fabric should be sturdy, while lining fabric can be lighter. Typically, 1/2 yard of exterior fabric and 1/2 yard of lining fabric are sufficient. If using thin cotton, add 1/2 yard of fusible interfacing or fleece for stability. Fabric scraps are ideal for small details like pockets or decorative accents. Choose materials that match your desired style, whether vibrant, neutral, or themed. Ensure fabrics are pre-washed to prevent shrinkage. For a water-resistant finish, consider using laminate or vinyl-coated fabric. Always check the pattern’s fabric requirements for precise measurements and recommendations. This ensures your fanny pack is both functional and visually appealing. For a fanny pack, essential notions include a zipper, buckles, and D-rings. Choose a sturdy zipper that matches the bag’s size, typically around 6-8 inches. Adjustable buckles and D-rings allow for a customizable strap. Add a keychain or decorative hardware for flair. Interfacing or fusible fleece provides stability, while thread and sewing needles are necessary for assembly. Optional items like magnetic snaps or rivets can enhance functionality. Ensure all hardware is durable and suitable for the fabric’s weight. Pre-wash fabric to prevent shrinkage and ensure accurate measurements. These notions are readily available at craft stores or online, making it easy to gather everything needed for your project. Proper hardware selection ensures a professional finish and lasting durability. To sew a fanny pack, you’ll need basic sewing tools like a sewing machine or needle and thread for hand-stitching. A rotary cutter and mat are helpful for precise fabric cutting. Measuring tools like a ruler or tape measure ensure accuracy. An iron and ironing board are essential for pressing seams and stabilizing fabric. Pins will hold pieces together during assembly. A seam ripper is handy for correcting mistakes. Optional tools include a walking foot for smooth fabric handling and a zipper foot for precise zipper installation. These tools will help you achieve professional results and make the sewing process efficient and enjoyable. Proper tool preparation ensures a successful project. Start by preparing your fabric, then cut out the pattern pieces. Mark the fabric for accurate stitching. Install the zipper carefully, ensuring alignment. Sew the panels together, leaving openings for turning. Attach the strap securely, and topstitch for durability. Follow the pattern instructions for precise assembly and finishing touches. Before sewing, prepare your fabric by washing and drying it to ensure shrinkage is accounted for. Iron the fabric to remove wrinkles, ensuring a smooth surface for cutting. If using a directional print, align the pattern pieces accordingly. For stability, consider adding fusible interfacing or fleece, especially for lightweight fabrics. Cut the fabric into the required pieces, following the pattern layout. Ensure all pieces are labeled and organized for easy assembly. Proper fabric preparation is essential for achieving a professional finish and ensuring your fanny pack is both durable and visually appealing. Cutting fabric accurately is crucial for a professional finish. Use sharp scissors or a rotary cutter and mat to ensure clean edges. Place fabric layers carefully, aligning the pattern pieces with the grain line. Cut slowly and precisely, staying within the marked lines to avoid errors. Notches and markings should be included for alignment during assembly. Double-check each piece against the pattern to confirm accuracy. Labeling each cut piece will help in organizing the sewing process. Proper cutting ensures that the fanny pack fits together seamlessly, making the assembly stage much easier and stress-free. Accuracy here sets the foundation for a successful project. Accurate marking ensures proper alignment and a polished finish. Use chalk, fabric markers, or tracing wheels to transfer pattern notches, dots, and fold lines onto the fabric. These markings guide seam placement and zipper installation. For visibility, choose a marking tool that contrasts with the fabric color. Ensure all notches are clearly indicated to match pieces correctly during assembly. Dots mark the start and end of zippers or straps, while fold lines help in creating crisp edges. Double-check all markings for accuracy to avoid errors during sewing. Properly marked fabric streamlines the assembly process, ensuring a professional-looking fanny pack. This step is essential for achieving a flawless final product. Installing the zipper is a crucial step that requires precision. Begin by preparing the zipper, ensuring it is centered and aligned with the marked edges of the fabric. Pin the zipper in place, making sure the edges are evenly matched. Sew the zipper using a zipper foot for better control and visibility. Start at the bottom edge, backstitching to secure the seam, then continue along the length, maintaining a consistent stitch length. Once the zipper is attached, topstitch along the edges for a professional finish. Properly installed zippers ensure smooth functionality and a polished appearance. This step is key to creating a durable and stylish fanny pack. With the zipper installed, the next step is to assemble the main components of the fanny pack. Place the front and back pieces right sides together, ensuring the edges align perfectly. Pin the sides and bottom edge, then sew along these edges using a straight stitch. Backstitch at the beginning and end for durability. Carefully trim any excess seam allowance to prevent bulkiness. Turn the fanny pack right side out through the zipper opening and press the seams with an iron for a crisp finish. Topstitch along the edges for a polished look and added reinforcement. This step brings the bag together, preparing it for the final touches like attaching the strap. Attaching the strap is the final step in completing your fanny pack. Start by preparing the adjustable strap, ensuring it is cut to the desired length and any hardware, such as sliders or buckles, is securely attached. Position the strap at the top edges of the bag, aligning the ends with the sides. Sew the strap in place using a straight stitch, backstitching at the beginning and end for strength. For added security, reinforce the attachment points with rivets or additional stitching. Make sure the strap is adjustable and fits comfortably around your waist. This step completes the assembly, making the fanny pack ready for use. Personalize your fanny pack by selecting vibrant fabrics, adding decorative elements like appliques or embroidery, and incorporating extra pockets for increased functionality and unique style. When creating your fanny pack, selecting the right fabric and colors is crucial for both style and functionality. Opt for durable materials like cotton, denim, or nylon to ensure longevity. For a vibrant look, choose bold prints or bright solids that reflect your personality. Neutral tones, on the other hand, offer versatility and can easily match various outfits. Consider the season too—lighter fabrics for summer and heavier ones for cooler months. Adding contrasting accents or lining can enhance the design, making your fanny pack truly unique. The fabric choice also affects the bag’s structure, so ensure it provides the necessary stability for your needs. Enhance your fanny pack’s functionality and style by adding pockets or decorative elements. A front pocket or zippered compartment can provide extra storage for small items like keys or cards. For a personalized touch, incorporate decorative elements such as embroidery, appliques, or patches. Consider adding a keychain or charm for a trendy look. If you’re feeling creative, include a contrasting lining or stitching to make your bag stand out. These additions not only customize your fanny pack but also showcase your sewing skills. Keep it simple for beginners or go bold with intricate designs—there’s no limit to how unique you can make your project! Start with simple patterns and practice on scrap fabric. Follow instructions carefully and take your time with zippers and straps. Enjoy the creative process! When sewing a fanny pack, ensure accurate measurements to avoid uneven fabric cuts. Double-check zipper alignment before sewing to prevent misplacement. Choose appropriate fabric weights for stability. Use interfacing to maintain shape and avoid puckering. Keep tension steady while sewing straight lines to prevent fabric distortion. Avoid skipping backstitching at seams to ensure durability. These tips help create a professional-looking bag and enhance the overall quality of your project. By addressing these common pitfalls, you can achieve a polished finish and enjoy your handmade fanny pack. Zippers are essential for a functional fanny pack, ensuring ease of access to your belongings. Start by preparing the zipper, trimming excess length, and sewing stops at the ends. Align the zipper accurately with the fabric edges to maintain symmetry. Use a zipper foot on your sewing machine for precise stitching and smooth operation. Avoid common mistakes like uneven alignment or insufficient backstitching, which can compromise the zipper’s integrity. Press seams after attaching the zipper to create a crisp finish. For beginners, practicing zipper installation on scrap fabric can build confidence and skill. Proper zipper handling ensures your fanny pack is both stylish and durable. Interfacing adds structure and stability to your fanny pack, preventing it from being too floppy or misshapen. Fusible interfacing is a popular choice, as it can be ironed onto the fabric for a secure bond. Cut the interfacing to match your fabric pieces before sewing, ensuring it is placed between the exterior and lining fabrics. This step is especially important for areas like the top flap or pockets that need extra rigidity. Properly applying interfacing ensures your fanny pack maintains its shape and offers a polished finish. For lightweight fabrics, consider using fusible fleece for added durability and a professional look. Always follow the manufacturer’s instructions for fusing temperatures and times to avoid damaging the material. Creating a fanny pack using a free sewing pattern is a rewarding project that combines creativity with practicality. With customizable designs and easy-to-follow instructions, you can craft a stylish accessory tailored to your needs. Whether for personal use or as a thoughtful gift, sewing your own fanny pack offers a sense of accomplishment and unique style. Embrace the fun of DIY crafting and enjoy your handmade, one-of-a-kind bag! Sewing a fanny pack is a fun and rewarding DIY project that allows you to express your creativity while creating a functional accessory. With free patterns available, you can choose designs that suit your style, from simple to elaborate. The process is accessible to sewists of all levels, making it a great way to build confidence in your skills. Personalize your pack with fabric choices, pockets, and decorative elements to make it truly unique. Whether for daily use or as a gift, a handmade fanny pack offers both practicality and a touch of personal flair. Enjoy the satisfaction of crafting something useful and stylish!1.2 Why Choose a Free Sewing Pattern?

Materials and Tools Needed for Sewing a Fanny Pack
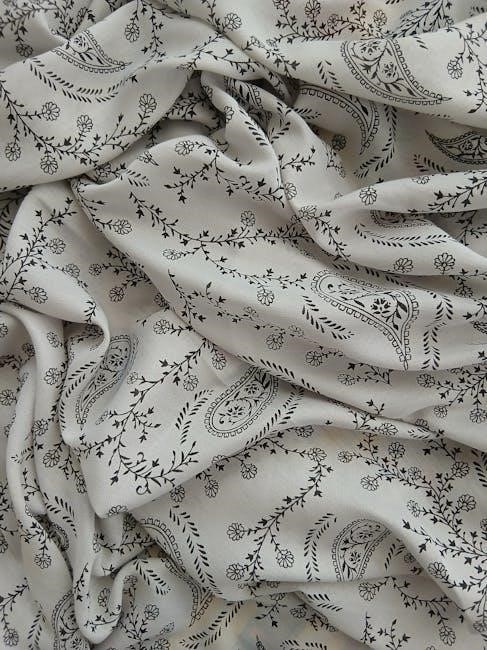
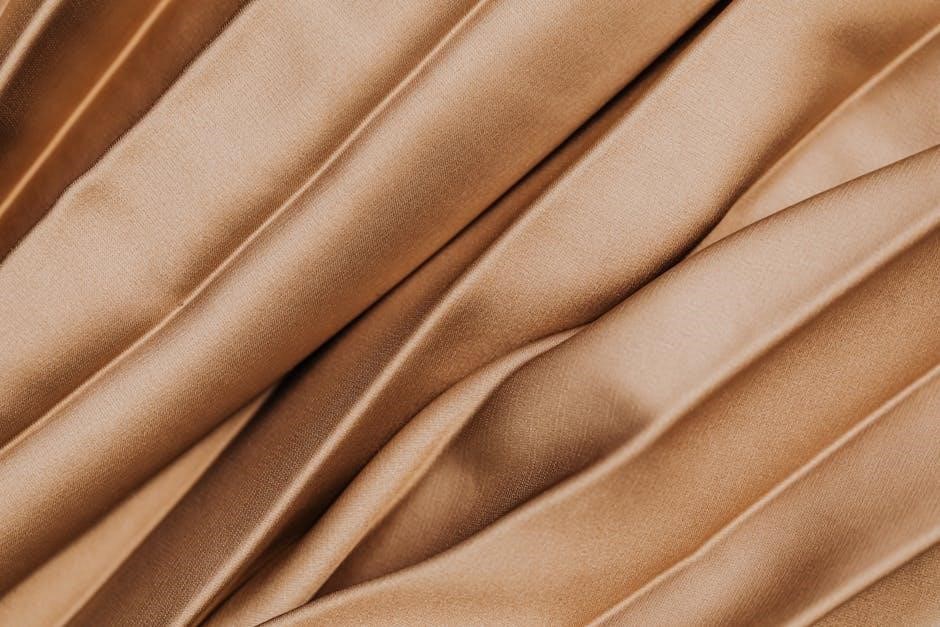
2.1 Fabric Requirements
2.2 Notions and Hardware
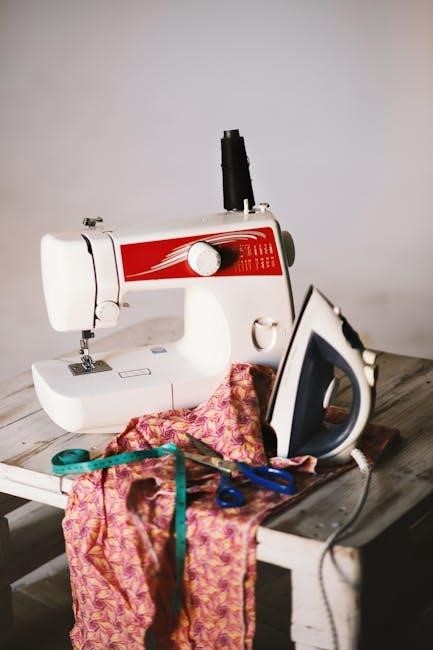
2.3 Essential Sewing Tools

Step-by-Step Sewing Guide
3.1 Preparing the Fabric
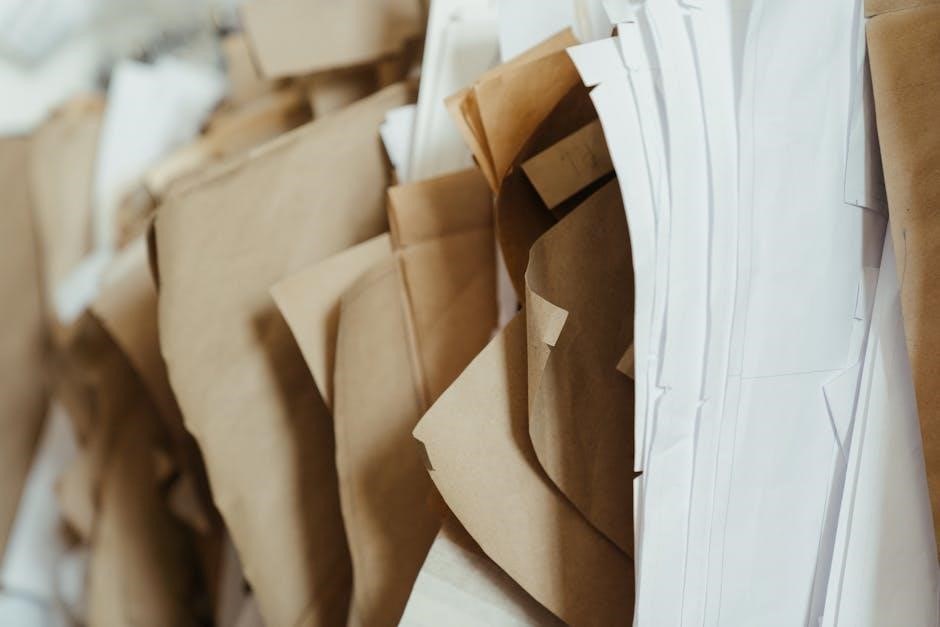
3.2 Cutting Out the Pattern Pieces
3.3 Marking the Fabric
3.4 Zipper Installation
3.5 Assembling the Fanny Pack
3.6 Attaching the Strap

Customization Ideas
4.1 Choosing Fabric and Colors
4.2 Adding Pockets or Decorative Elements

Tips for Beginners
5.1 Avoiding Common Mistakes
5.2 Working with Zippers
5.3 Using Interfacing for Stability
6.1 Final Thoughts on Sewing a Fanny Pack


About the author