
Welcome to the Olympus OM-1 manual, your comprehensive guide to mastering this powerful camera. This manual covers key features, shooting modes, and troubleshooting tips to help you unlock its full potential and enhance your photography experience. Whether you’re a professional or a beginner, this detailed guide ensures you get the most out of your Olympus OM-1.
Overview of the Olympus OM-1 Camera
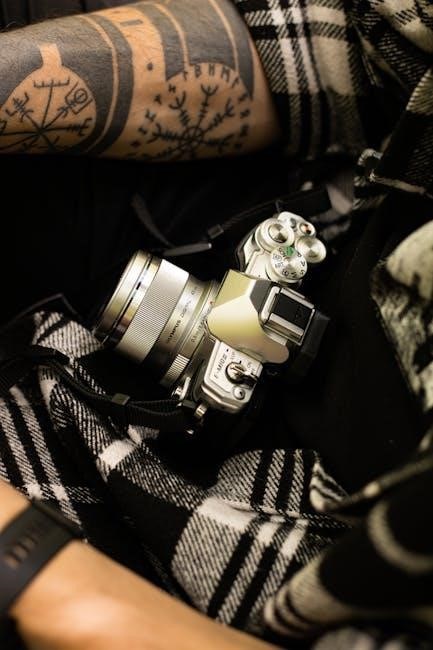
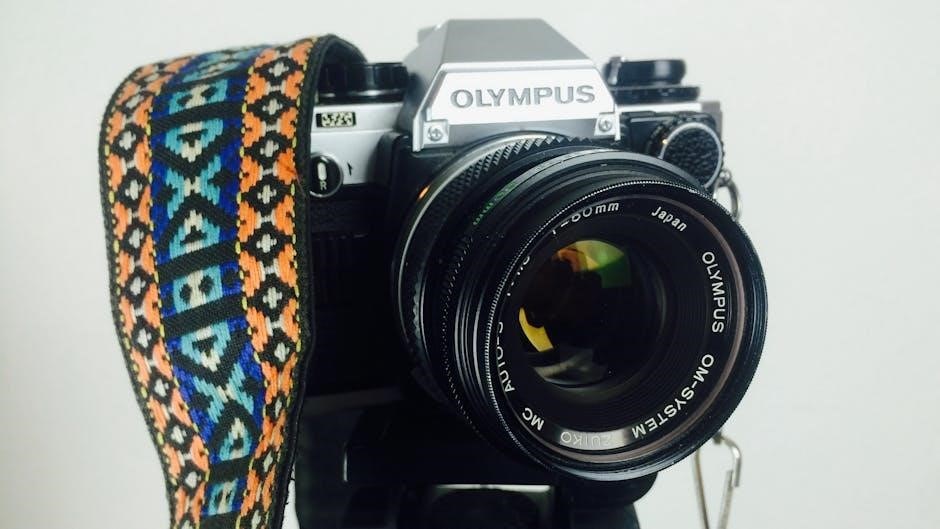
The Olympus OM-1 is a legendary film SLR camera introduced in the 1970s, renowned for its durability, portability, and exceptional performance. Designed for both professionals and enthusiasts, it features a compact and lightweight design, making it easy to carry and use. The camera offers manual controls, interchangeable lenses, and a robust build quality. With its Zuiko lens system and aperture priority mode, the OM-1 delivers precise control over exposure. Its center-weighted metering system ensures accurate light readings, while the intuitive interface allows for seamless operation. A timeless classic, the OM-1 remains a favorite among photographers for its reliability and artistic capabilities.
Importance of the Manual for Effective Camera Use
The Olympus OM-1 manual is essential for unlocking the camera’s full potential. It provides detailed instructions on operating features, troubleshooting, and optimizing settings for various shooting scenarios. Understanding the manual ensures mastery of advanced functions like multiple exposures, image stabilization, and autofocus. It also guides customization of settings, enabling photographers to personalize their workflow. By following the manual, users can enhance image quality, resolve common issues, and explore creative techniques, making it indispensable for both beginners and experienced photographers seeking professional results.
Key Features of the Olympus OM-1
The Olympus OM-1 boasts a 20 MP Stacked Live MOS Sensor, TruePic X Processor, 5-axis image stabilization, creative effects, and advanced autofocus for exceptional image quality and versatility.
20 MP Stacked Live MOS Sensor and TruePic X Processor
The Olympus OM-1 is equipped with a high-performance 20 MP Stacked Live MOS Sensor, paired with the advanced TruePic X Processor. This powerful combination ensures exceptional image quality, delivering vibrant colors, sharp details, and reduced noise across a wide ISO range. The sensor’s stacked design enhances speed and efficiency, enabling rapid burst shooting and fast autofocus performance. Additionally, the TruePic X Processor optimizes image processing for high dynamic range, making it ideal for both photography and video recording. This duo is central to the OM-1’s ability to produce professional-grade results in various lighting conditions.
5-Axis In-Body Image Stabilization
The Olympus OM-1 features a sophisticated 5-axis in-body image stabilization system, providing up to 8 stops of compensation. This advanced technology minimizes camera shake and blur, ensuring sharp images even in low-light conditions or when shooting handheld. The system effectively compensates for vertical, horizontal, and rotational movements, enhancing stability for both still photography and video recording. This feature is particularly beneficial for capturing smooth footage and maintaining image clarity in challenging environments, making it a standout capability of the OM-1.
Creative Effects and Artistic Flair
The Olympus OM-1 offers a range of creative effects to enhance your photography. Sepia and Black & White modes allow you to add artistic touches directly in-camera, eliminating the need for post-processing. These effects enable you to capture images with a unique, timeless aesthetic, giving your photos a personal and creative flair. Whether you’re aiming for a vintage look or a monochromatic masterpiece, the OM-1’s built-in artistic options empower you to express your vision with ease and precision.
Advanced Autofocus Performance
The Olympus OM-1 boasts advanced autofocus capabilities, delivering fast and precise subject tracking. With AI Detection AF for humans, the camera intelligently identifies and focuses on people, ensuring sharp portraits. The touch-and-track feature allows intuitive subject selection, while improved algorithms enhance performance in various lighting conditions. These advancements make the OM-1 ideal for capturing dynamic moments, from action shots to candid photography, with reliable and efficient autofocus operation.
Getting Started with the Olympus OM-1
Unbox and prepare your Olympus OM-1 for its first use. Attach the strap, insert the battery, and charge it fully. Familiarize yourself with the camera’s layout and essential settings to ensure a smooth start.
Unboxing and Initial Setup
Upon unboxing your Olympus OM-1, carefully inspect the contents, including the camera body, battery, charger, strap, and memory cards. Begin by charging the battery fully using the provided USB-AC adapter or a compatible USB device. Attach the strap securely to ensure comfortable handling. Next, insert the battery into the camera, making sure it clicks into place. Finally, insert a memory card into the designated slot to prepare for capturing images. This initial setup ensures your camera is ready for its first use.
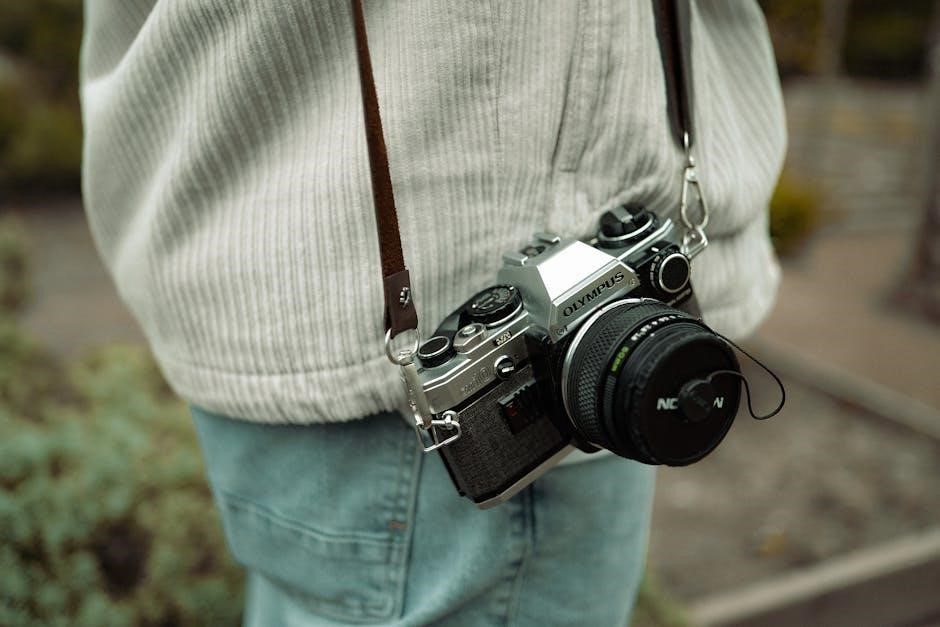
Attaching the Strap and Inserting the Battery
To attach the strap, locate the strap eyelets on the camera body. Thread the strap through the eyelets and adjust it to your preferred length for comfortable handling. Ensure the strap is securely fastened to prevent accidental dropping. For the battery, open the compartment on the bottom of the camera by sliding the latch. Insert the battery with the terminals aligned correctly, ensuring it clicks into place. Close the compartment securely. Always handle the battery carefully to avoid damage and ensure proper camera operation.
Charging the Battery and Inserting the Memory Card
To charge the battery, use the provided USB-AC adapter or a compatible USB device. Connect the battery to the adapter and plug it into a power source. The charging indicator will light up, turning off once fully charged. For the memory card, locate the card slot on the side of the camera. Open the compartment, insert the card with the label facing up, and ensure it clicks into place. Properly aligned insertion prevents damage and ensures data is stored correctly. Always handle cards with care to maintain functionality.
Navigating the Menu System
The Olympus OM-1 menu system is intuitive and user-friendly, allowing quick access to settings like shooting modes, image stabilization, and autofocus. Customize options for personalized use.
Understanding the Menu Layout
The Olympus OM-1 menu layout is organized into clear categories, making it easy to navigate. Tabs are divided into shooting settings, playback options, and system functions. Each menu item is labeled with clear icons and descriptions, allowing users to quickly find and adjust settings. The menu also features a search function, enabling users to locate specific features efficiently. This logical structure ensures that photographers can customize their settings without missing important options, enhancing their overall shooting experience.
Customizing Settings for Personalized Use
The Olympus OM-1 allows for extensive customization to suit your photography style. Users can save up to four sets of custom settings, including aperture, shutter speed, and ISO preferences, and quickly recall them for different shooting scenarios. Additionally, the camera offers customizable buttons and dials, enabling you to assign frequently used functions for easy access. This level of personalization ensures a streamlined workflow, allowing you to focus on creativity while maintaining consistent results across various shooting conditions.
Shooting Modes and Techniques
The Olympus OM-1 offers versatile shooting modes, including Manual, Auto, and Multiple Exposure, empowering photographers to explore creative techniques and achieve precise control over image capture and quality.
Manual Mode and Exposure Control
Manual Mode on the Olympus OM-1 offers precise control over aperture, shutter speed, and ISO. Adjustments are made using intuitive dials, allowing for customizable exposure settings. Use the exposure compensation dial to fine-tune brightness, ensuring perfectly balanced images. Live MOS sensor and TruePic X processor work seamlessly to deliver high-quality results. For advanced users, manual focus is available, enabling exact control. This mode is ideal for creative photography, where personal vision and technical accuracy are essential. Mastering Manual Mode unlocks the camera’s full potential for unique artistic expression and professional-grade imaging.

Using Auto ISO for Flexible Shooting
The Olympus OM-1’s Auto ISO feature provides flexibility in varying lighting conditions, automatically adjusting sensitivity for optimal exposure. This mode is ideal for dynamic environments where manual ISO adjustments would be time-consuming. When combined with Manual Mode, Auto ISO allows you to set aperture and shutter speed while the camera manages ISO for consistent results. You can also cap the maximum ISO to minimize noise, ensuring high-quality images in diverse shooting scenarios. This feature enhances creativity and efficiency, making it a valuable tool for photographers seeking versatility and precision.
Multiple Exposure Feature for Creative Photography
The Olympus OM-1’s Multiple Exposure feature allows you to overlay images, creating unique and artistic results. To use this feature, enable Multiple Exposure in the menu, set Overlay to On, and press the MENU button to return to the shooting screen. A ‘X’ icon will appear, indicating the feature is active. You can now view the first image while capturing the second, enabling precise control over the composition. This tool offers endless creative possibilities for blending images and experimenting with layered photography, making it a standout feature for artistic expression.
Image Stabilization and Performance
The Olympus OM-1 features 5-axis in-body image stabilization, providing up to 8 stops of compensation for blur-free results. It enhances performance in various shooting scenarios.
Maximizing Image Quality with 8 Stops of Compensation
The Olympus OM-1’s 5-axis image stabilization offers up to 8 stops of compensation, significantly reducing camera shake and blur. This advanced feature ensures sharp images even in low-light conditions or when using slower shutter speeds. By minimizing blur, photographers can achieve professional-grade results, making it ideal for handheld shooting. The system’s effectiveness is evident across various lenses, providing consistent performance that elevates your photography to new heights with every shot.
Using Image Stabilization in Different Shooting Scenarios
The Olympus OM-1’s 5-axis image stabilization excels in various shooting scenarios, ensuring sharp results. For low-light photography, it compensates for hand tremors, allowing slower shutter speeds without blur. When shooting handheld, it stabilizes the camera, reducing motion-induced blur. In dynamic compositions, such as panning or tracking moving subjects, the system adapts seamlessly, maintaining focus on the subject while stabilizing the background. This versatility makes the OM-1 ideal for both stills and video, providing consistent image quality across diverse shooting conditions and creative setups.
Troubleshooting Common Issues
Identify and resolve errors by checking settings, ensuring proper battery and memory card connections, and restarting the camera to optimize performance and address common issues effectively.
Resolving Errors and Optimizing Camera Performance
Resolve errors by checking error messages and referring to the manual for solutions. Ensure proper battery and memory card connections, and restart the camera if issues persist. Regularly update firmware to enhance performance and fix bugs. Clean the sensor and lens for optimal image quality. For persistent problems, reset settings to factory defaults or consult Olympus support. Proper maintenance and troubleshooting ensure consistent and reliable camera operation, helping you achieve the best results in your photography.


About the author